Website Health Check with Cloudflare Worker
Introduction
As a DevOps/SRE of a portal site, it is important to ensure that your website is always up and running smoothly. However, keeping track of your website’s health can be a daunting task, especially if you have a large website with multiple pages and functionalities. In this blog post, we will discuss how you can use Cloudflare Worker to perform a website health check and get alerted if any issues arise.
Here is a minimal example showing how to use Cloudflare Workers to check the health status of your own website and send an instant message notification to a LINE channel if the website is down. You could add more IM notification channels, e.g. Slack, Telegram, etc. to the code to build your own website health check system.
Configure Cloudflare Worker
https://workers.cloudflare.com/
Create a new worker project
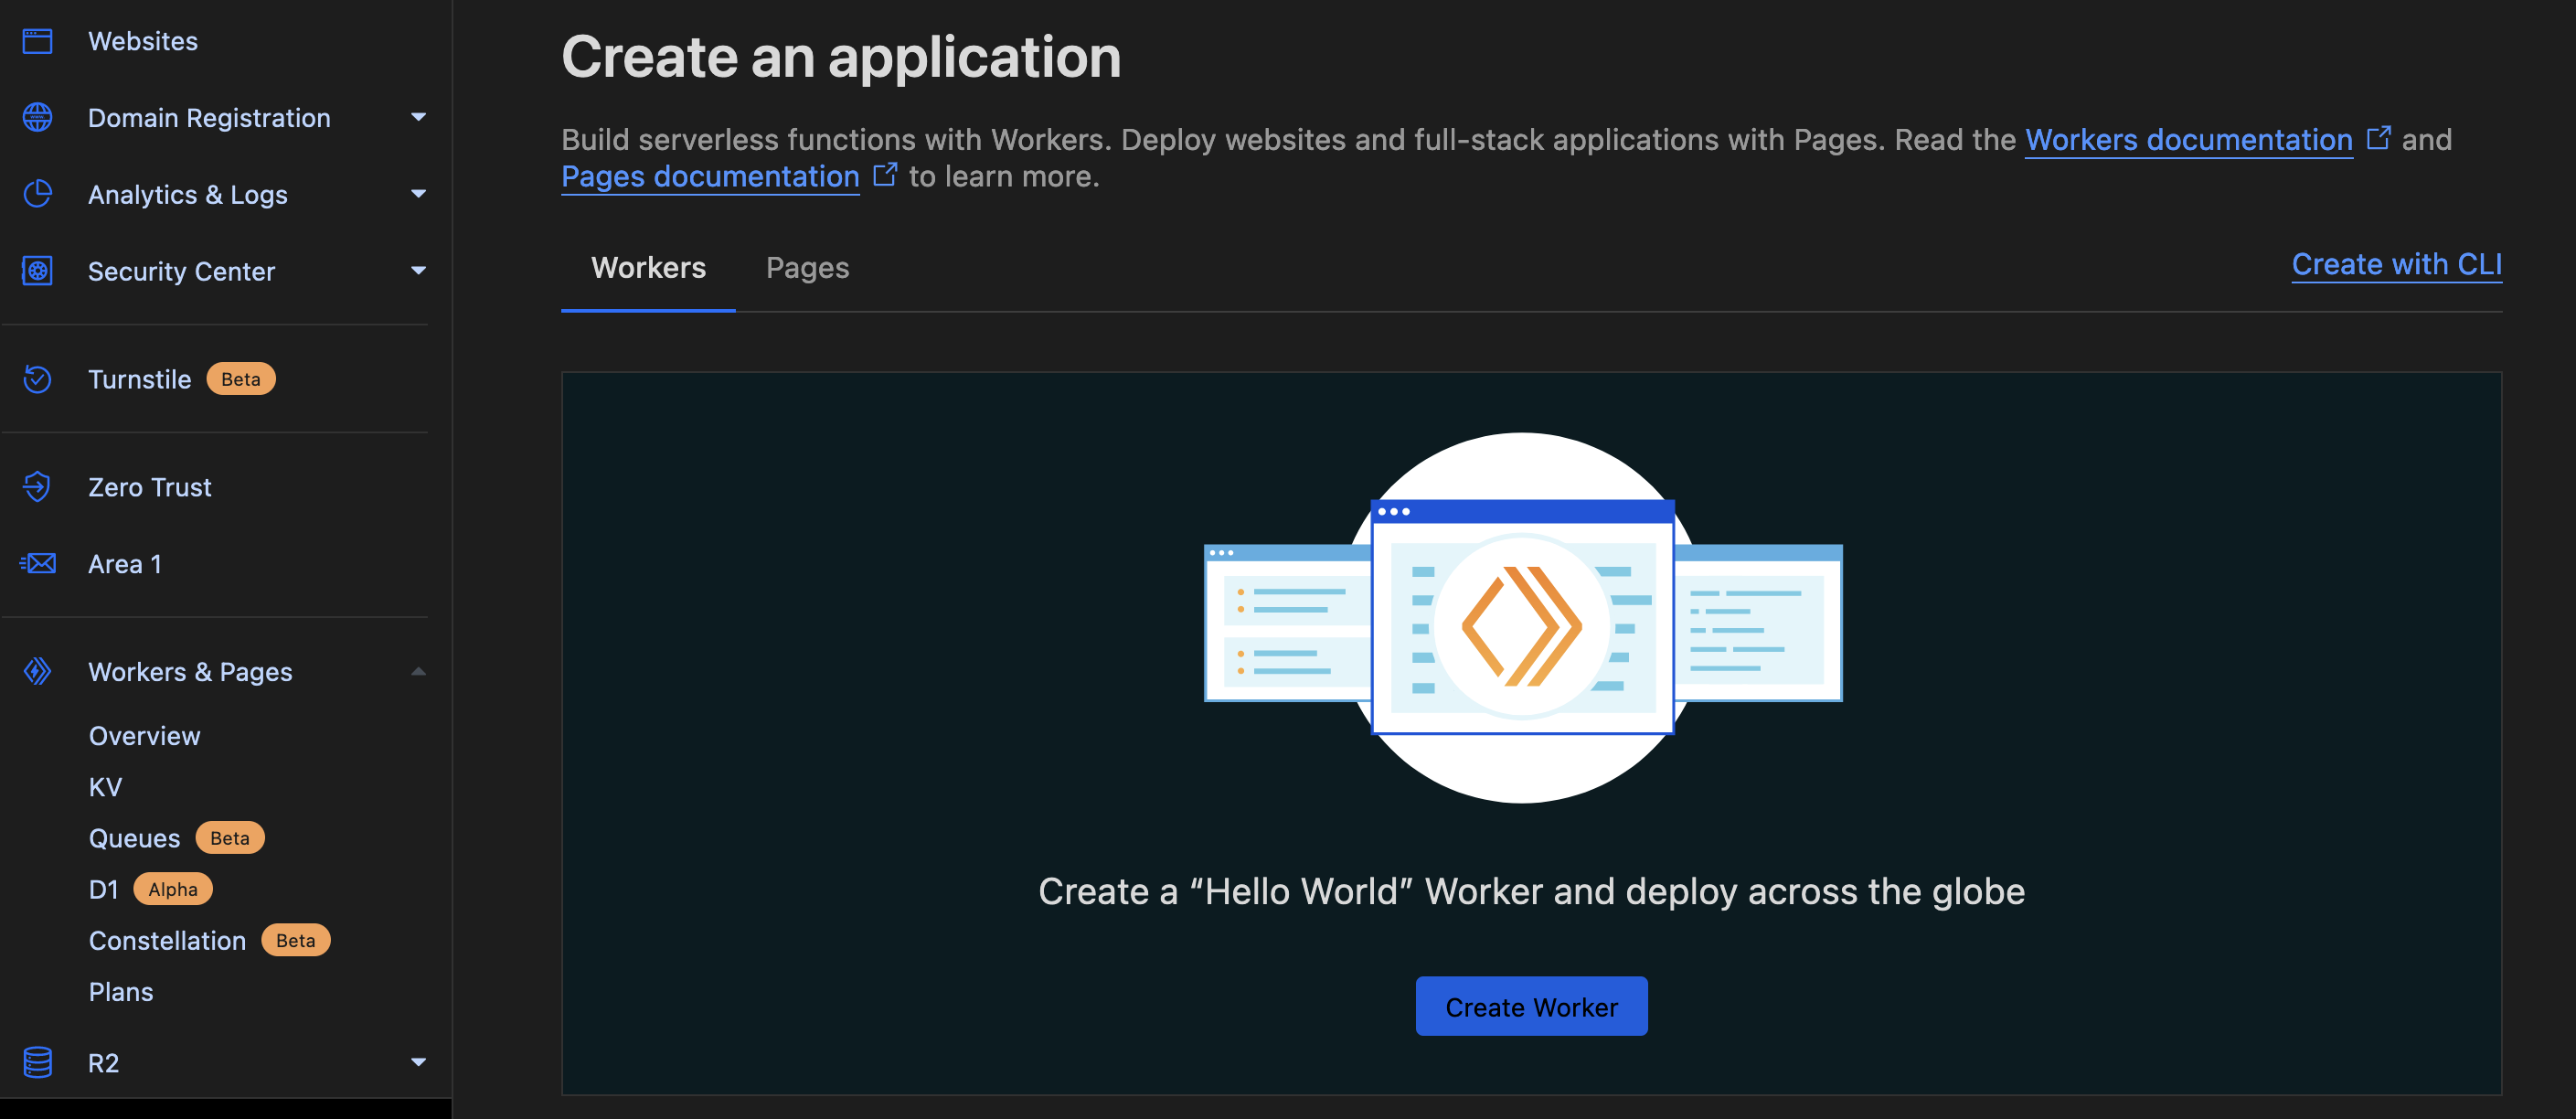
- Login Cloudflare and go to Workers page.
- Give your project a name, e.g.
website-health-check. - Deploy the project with the
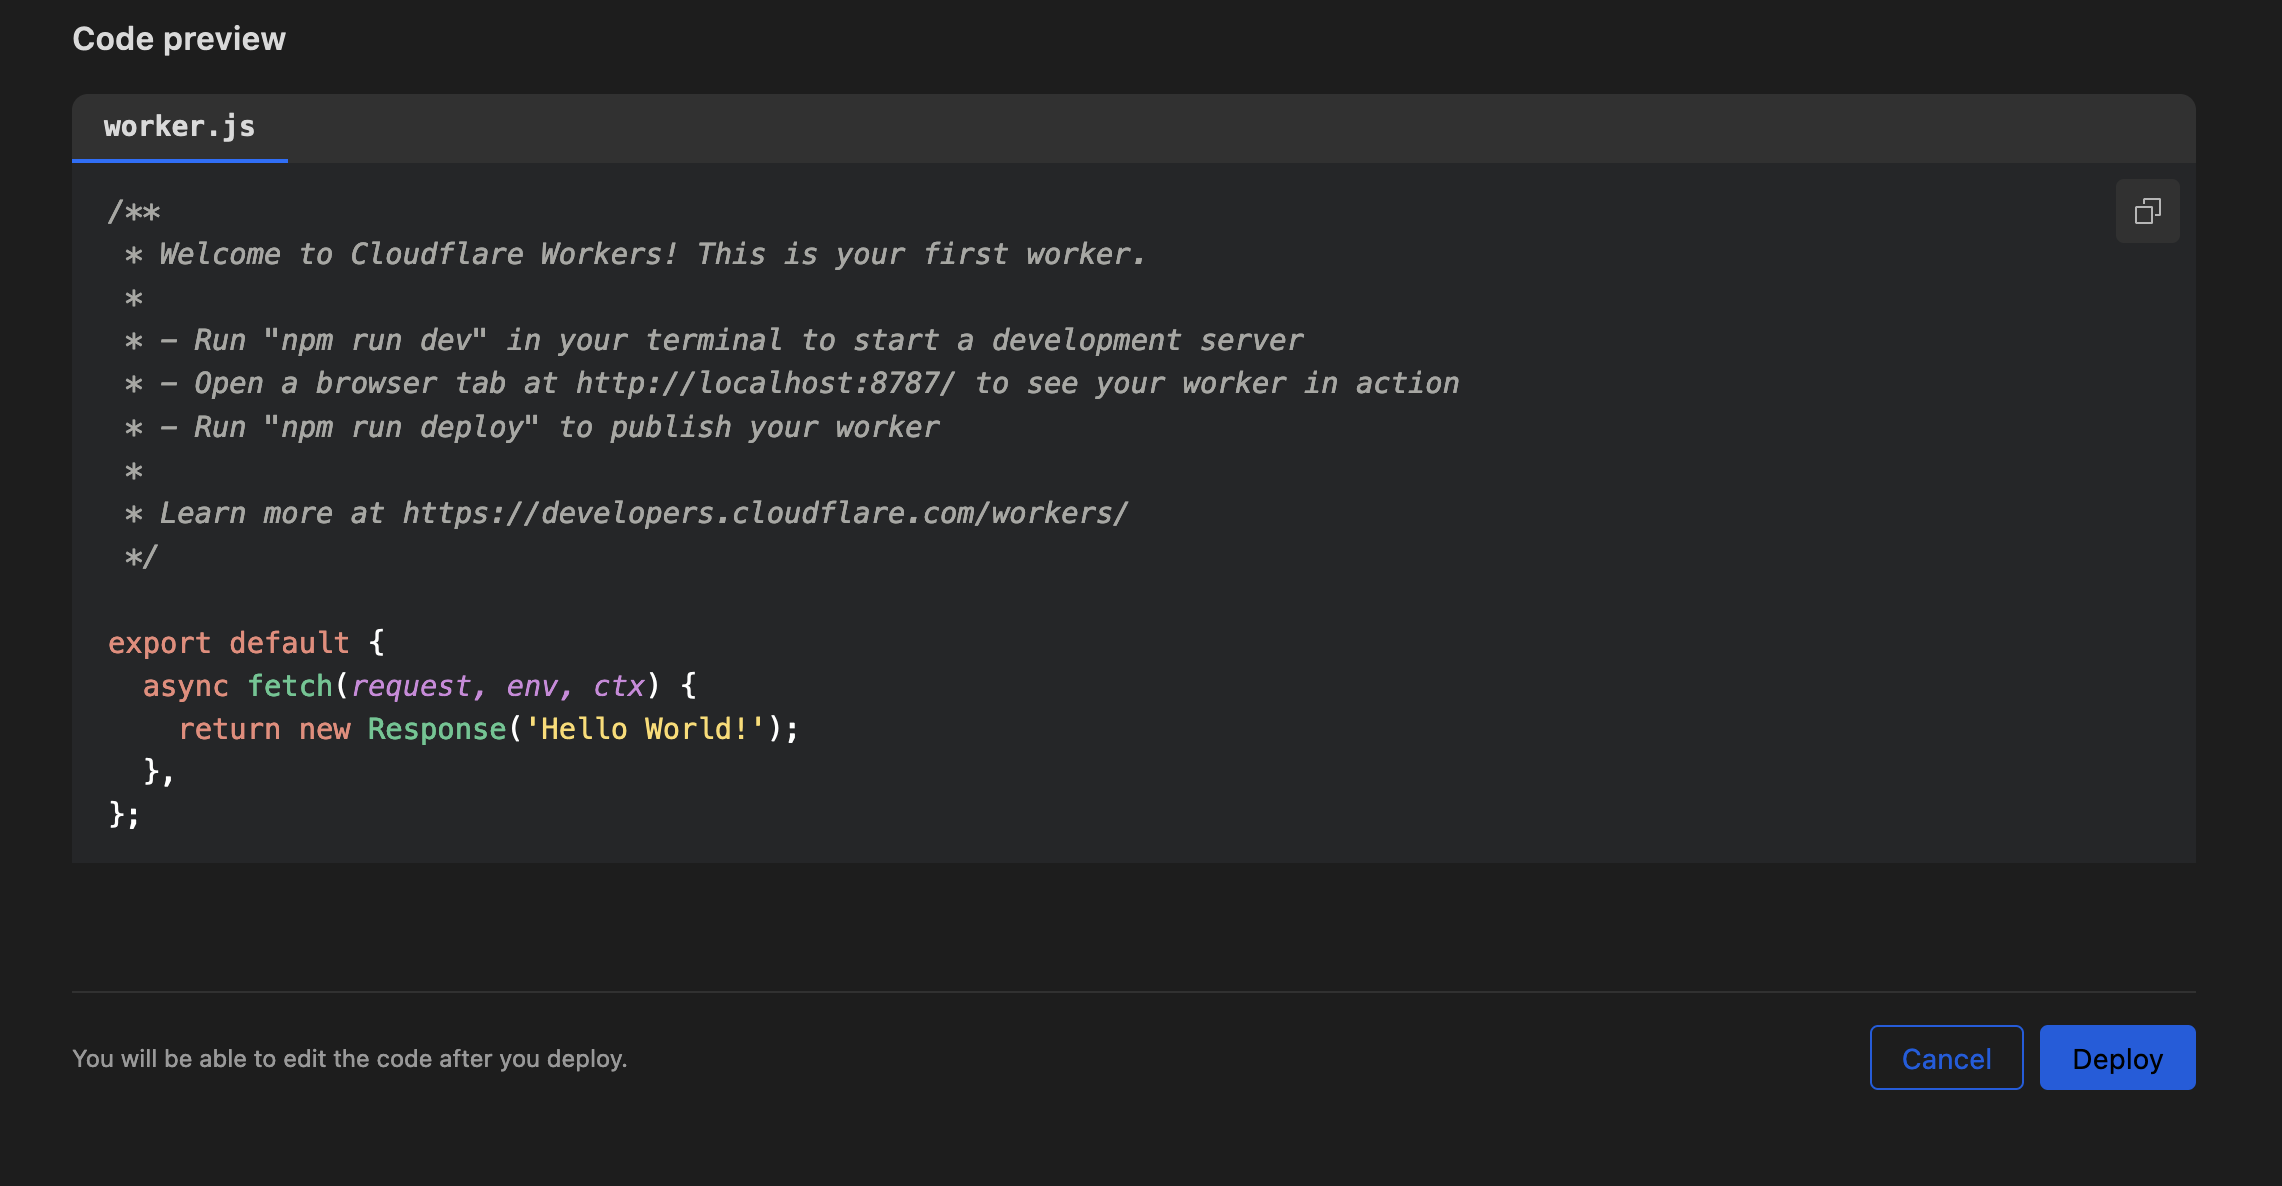
Hello Worldcode in the editor. (You will be able to edit the code after you deploy.) - Then Choose Configure Worker, and then choose Quick Edit.
- Copy the code below and paste it into the editor. Change the
url_listto your own website list. - Click Save and Deploy.
const url_list = ["http://your.own.http.site", "https://your.own.https.site"];

async function gatherResponse(response) {
    const { headers } = response;
    // console.log(headers);
    const contentType = headers.get("content-type") || "";
    if (contentType.includes("application/json")) {
        return JSON.stringify(await response.json());
    } else if (contentType.includes("application/text")) {
        return response.text();
    } else if (contentType.includes("text/html")) {
        return response.text();
    } else {
        return response.text();
    }
}

async function handleScheduled(event) {
    const init = {
        headers: {
            "content-type": "text/html;charset=UTF-8",
        },
    };
    for (const url of url_list) {
        const response = await fetch(url, init);
        if (response.status === '301' || '302' || '200') {
            console.log(response.status);
        } else {
            await sendToLineChannel(response.status + ": " + url);
        };
    };
};

addEventListener("scheduled", (event) => {
    event.waitUntil(handleScheduled(event));
});

async function sendToLineChannel(msg) {
    // send to LINE
    const form = new FormData();
    form.append("message", msg);
    const init = {
        method: 'POST',
        headers: {
            "Authorization": "Bearer Your_LINE_channel_key"
        },
        body: form
    };
    const response = await fetch("https://notify-api.line.me/api/notify", init);
}
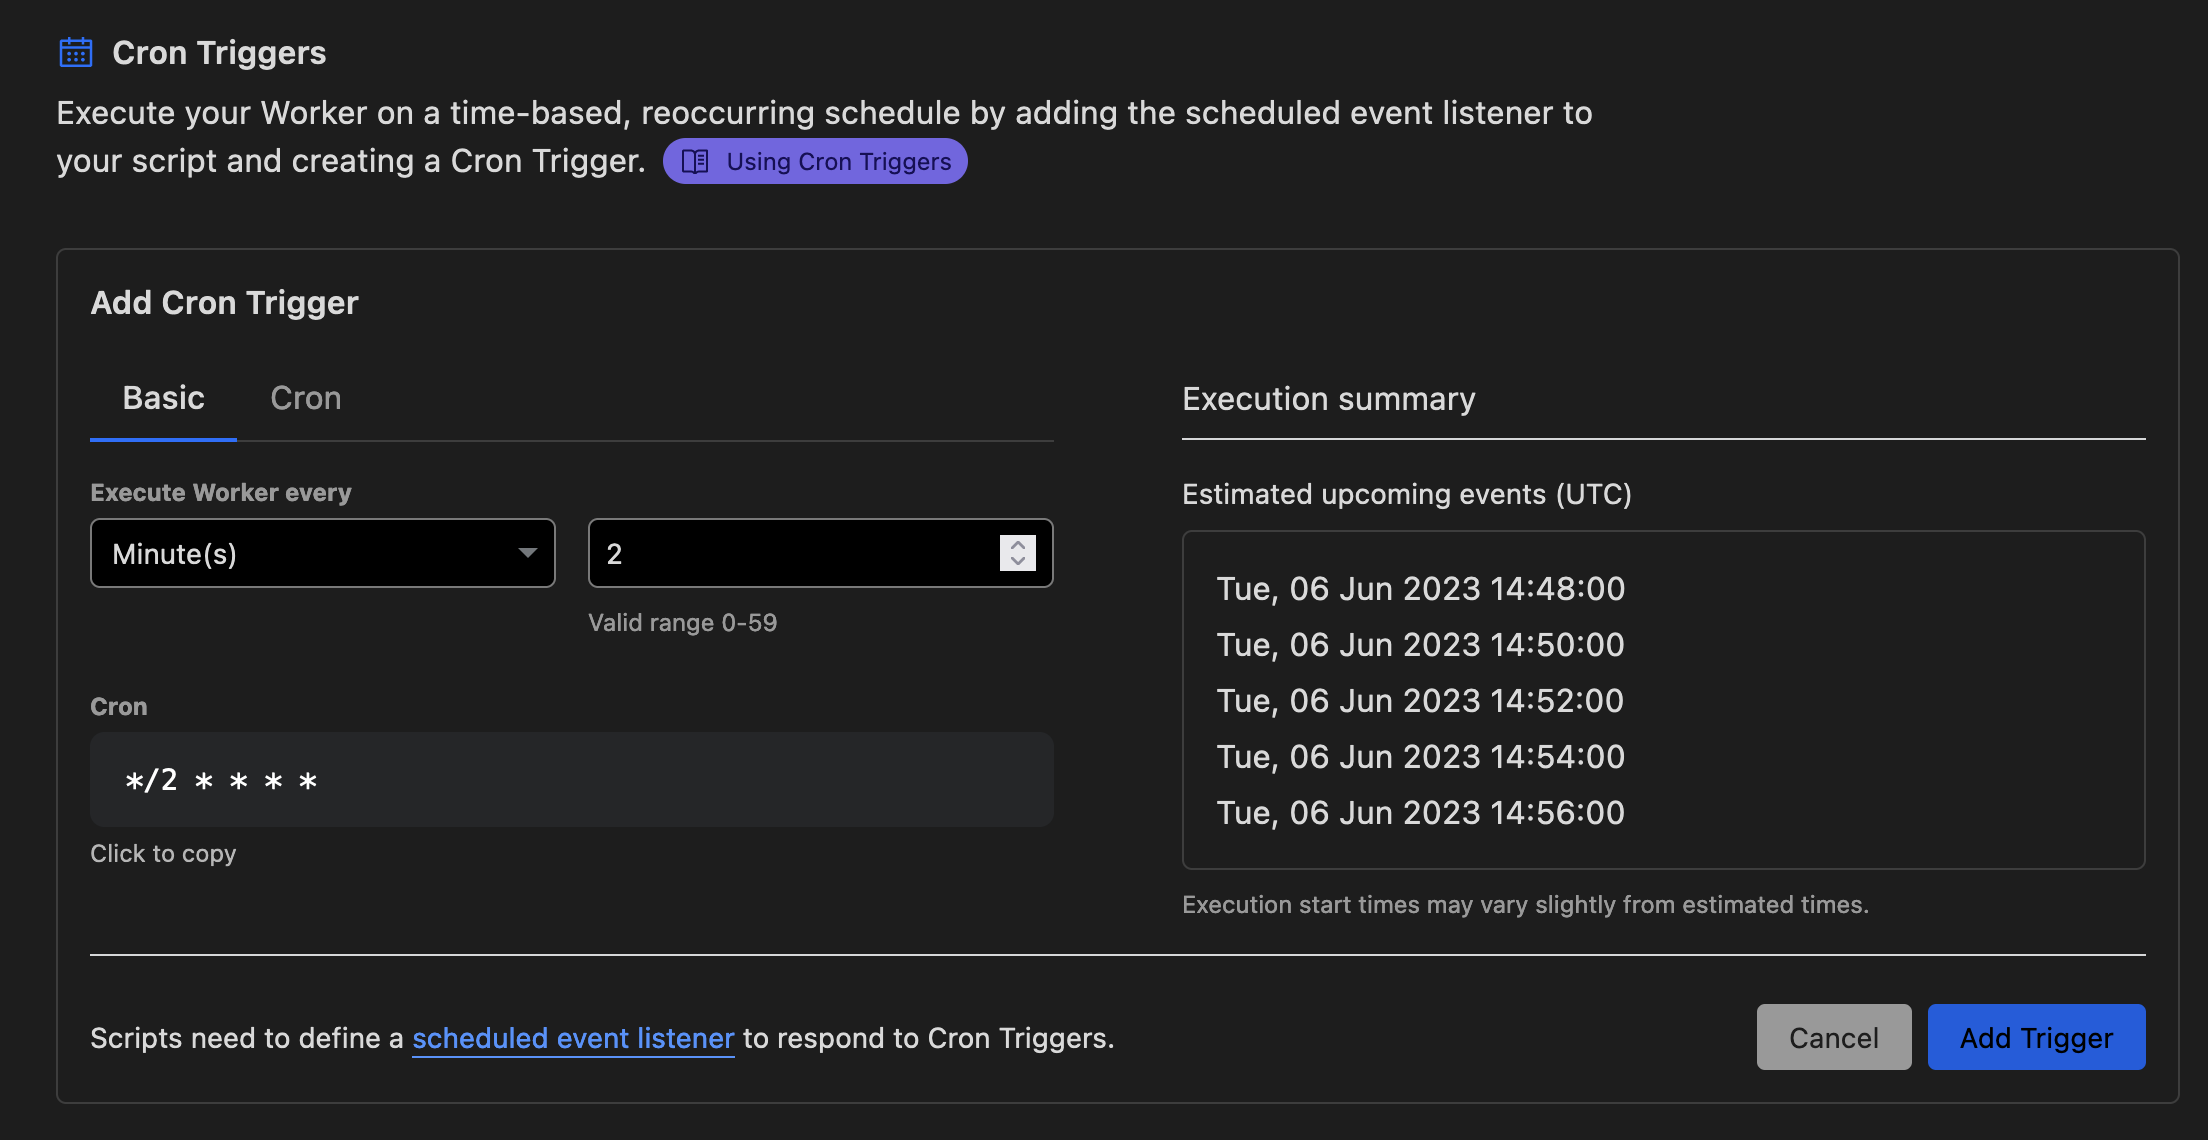
Config Triggers
- Navigate to the Triggers tab and click Add Cron Trigger
- Then choose a proper schedule for your worker
- Click Add Trigger to save the trigger
Configure LINE notification
https://notify-bot.line.me/
- Login into LINE Notify with your LINE account.
- Click My Page and then click Generate Token.
- Enter a name for your token and click Generate.
- Copy the token and replace
Your_LINE_channel_keyof the code above.
You will receive a LINE notification if the response status is not 301, 302 or 200.
Reference
https://developers.cloudflare.com/workers/learning/metrics-and-analytics/#requestshttps://notify-bot.line.me/- Alternative:
https://grafana.com/docs/grafana-cloud/synthetic-monitoring/